
In this tutorial, we’ll go through the steps involved in running your study on FindingFive. First, we will discuss how to start and manage sessions, and then we will discuss how to examine the data.
Starting a session
Once you’ve confirmed that your study is ready to run, it’s time to make it available to participants by creating a session. To do so, navigate back to your study’s page and click on the Sessions tab, located at the top right of the study page (to the left of the preview button).
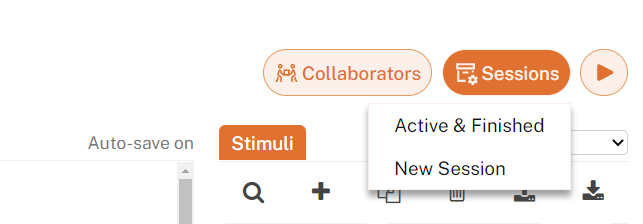
The “Active & Finished” option will show a pop-up window, within which you can review and manage all active/scheduled or finished sessions for the current study (more on this later).
Alternatively, you can choose to open up the “New Session” window which provides a step-by-step guide on how to launch a new session for the current study (see below).
The step-by-step new session guide
Let’s create a new session of our study! To create a new session, choose the “New Session” option when clicking on the “Sessions” button located in the upper-right corner. This will open a pop-up box containing a step-by-step guide to setting up a new session. Step 1 is to choose the platform on which you wish to host your session.
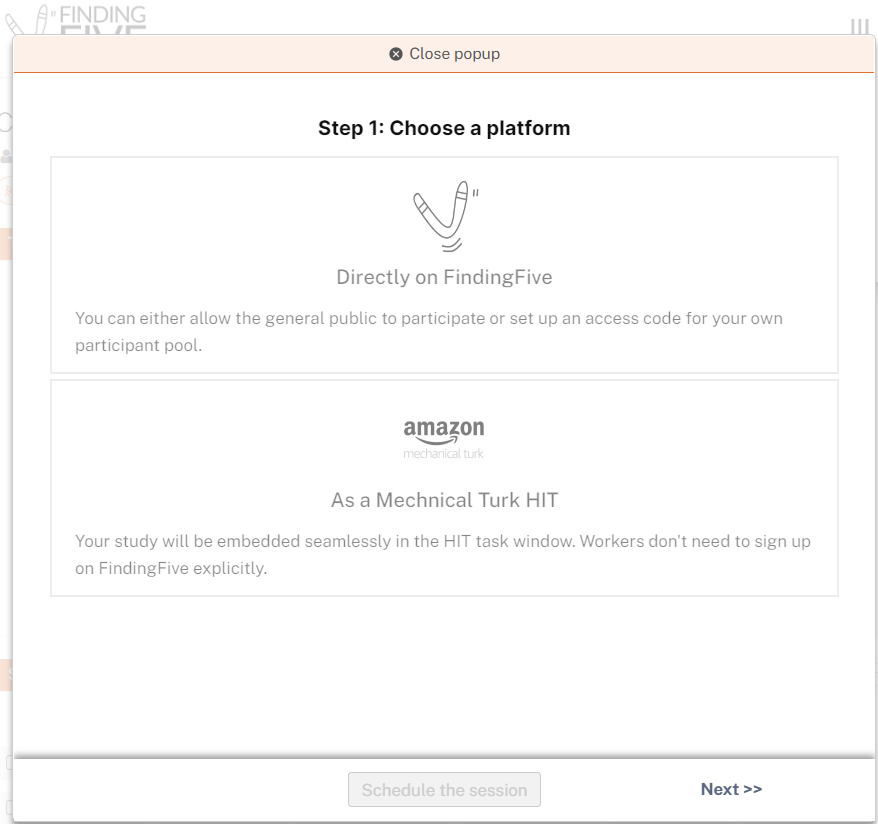
FindingFive supports two kinds of session:
- FindingFive sessions are hosted entirely on the FindingFive platform
- MTurk sessions are sessions of FindingFive studies hosted on Amazon Mechanical Turk
Note:
For FindingFive sessions in the current beta, you handle participant recruitment.
For MTurk sessions, we do the dirty work of making your study work on MTurk for you, and MTurk handles participant recruitment according to your specifications.
Learn more about running MTurk Sessions and MTurk best practices
For this tutorial, we will create a FindingFive session. Select the FindingFive icon and click “Next” to be taken to Step 1.1 of the new session guide.
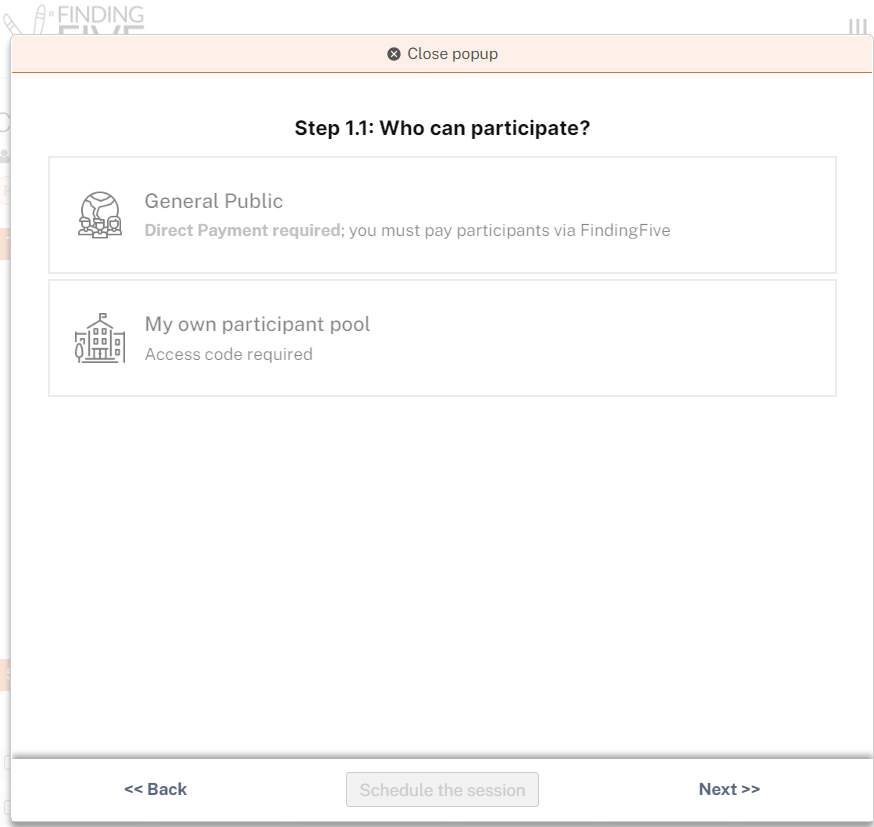
After you have decided on the type of participants to recruit in Step 1.1, click “Next” to proceed to Step 2 of the new session guide.
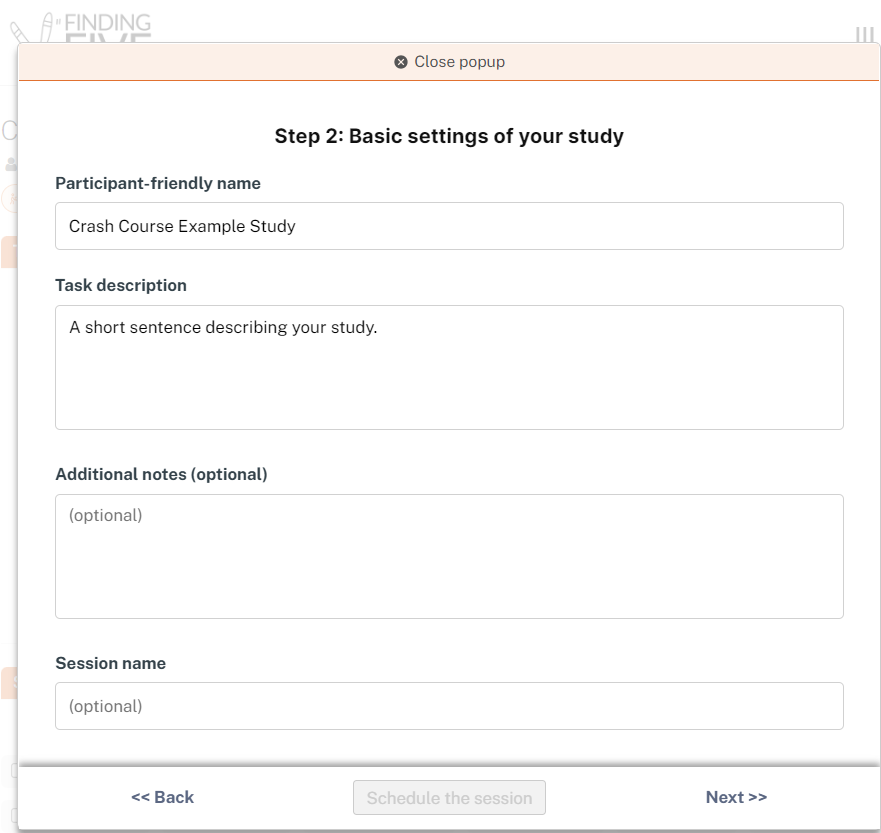
Here you can provide a participant-friendly name and short task description for your experiment, as well as any additional notes that participants may need. You can also provide a session name for this session that only you and your collaborators will see. Fill in the information as you see fit, and click “Next” to advance to Step 3.
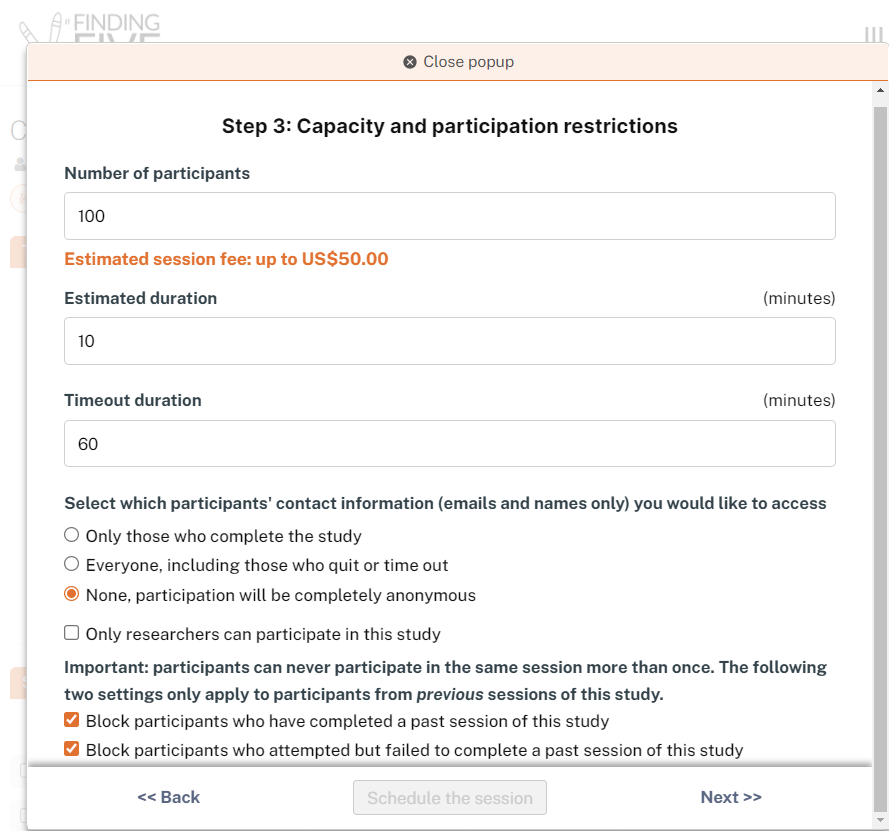
Here, you can specify the total number of participants you desire, how long you estimate the duration of the experiment to be for participants, whether you want to force a timeout duration on the experiment, whether you would like to collect participants’ contact information, whether participants are researchers, and restrictions based on past participation in sessions of this study. Fill in the information as you see fit, and click “Next” to advance to Step 4.
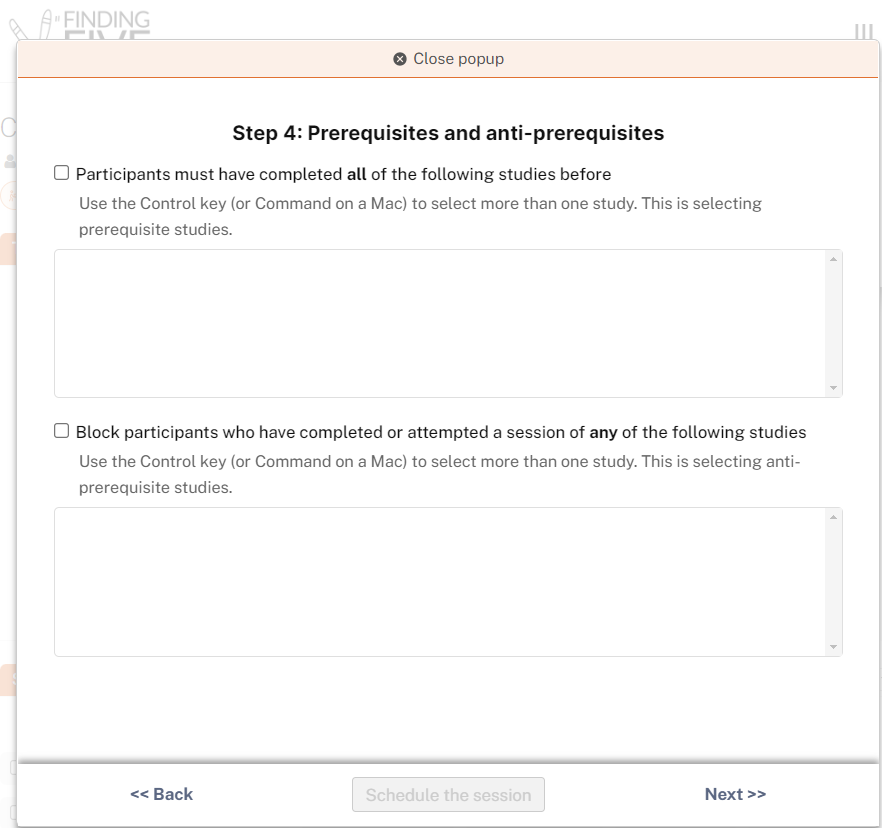
Here, you can specify additional restrictions on participation based on participation in sessions of other studies. This is defined using prerequisites and anti-prerequisites. Prerequisites are sessions that participants must have participated in in order to be allowed to participate in the current session. Anti-prerequisites are sessions that participants must not have participated in in order to be allowed to participate in the current session. To include prerequisites or anti-prerequisites, check the appropriate box and select a session from the available list. When you are satisfied, click “Next” to advance to Step 4.1.
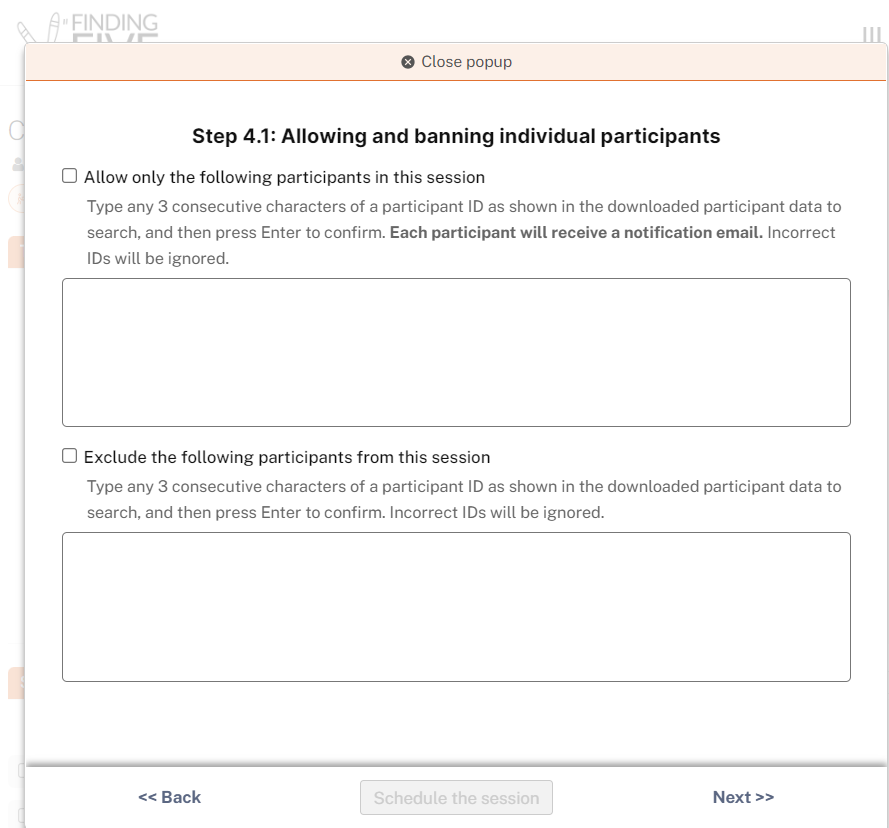
In this step, you can allow or disallow participants in the “New Session” by searching for their IDs (found in the session data for previously completed sessions). Please note that, since participant IDs are saved when the participants have completed a session, Step 4.1 is applicable only if you have run previous studies. If you are launching your very first session, you can skip Step 4.1 and proceed directly to Step 4.2.
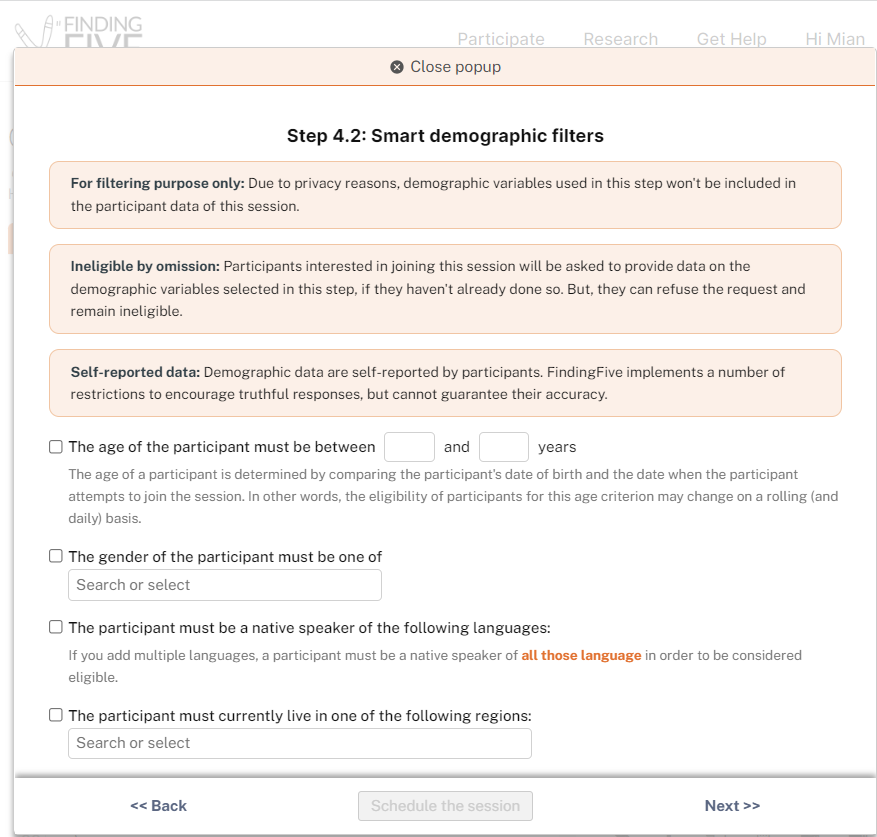
In Step 4.2, you can specify eligibility criteria based on participants’ age, gender, language, and/or geographic location. Once you are satisfied with the demographic filters, you can advance to the “Next” step.

Here, you can specify monetary compensation options for participants. This is informational to participants only. Once you have specified any compensation options you desire, click “Next” to advance to Step 6.
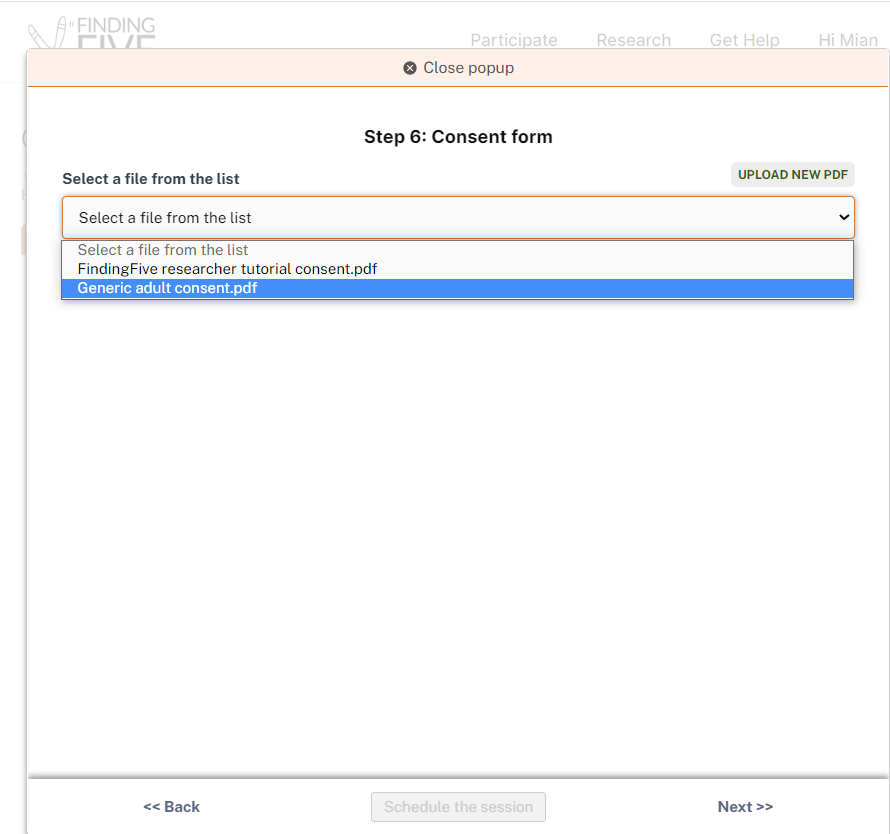
Here, you can choose a consent form from your “Files” page or upload a new one. Every study session requires a consent form. Once you have selected a consent form for your study, click “Next” to advance to Step 7.
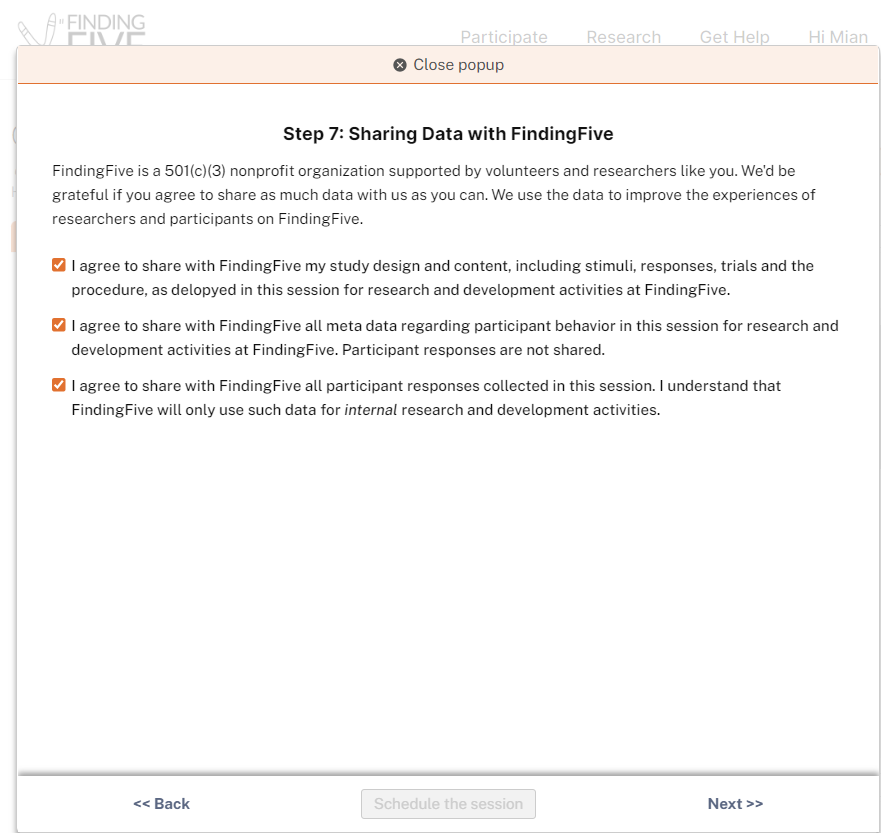
This step asks you whether you agree to share certain data with us at FindingFive. These data include study design and content, meta data about participant behavior that does not include their actual responses, and actual participant response data. When you are satisfied, click “Next” to advance to the final step.
Note:
Your consent to share any of this data is completely voluntary, and is not required to launch a session of your study. Any of this data that you choose to share with FindingFive will be used for internal research and development activities only.
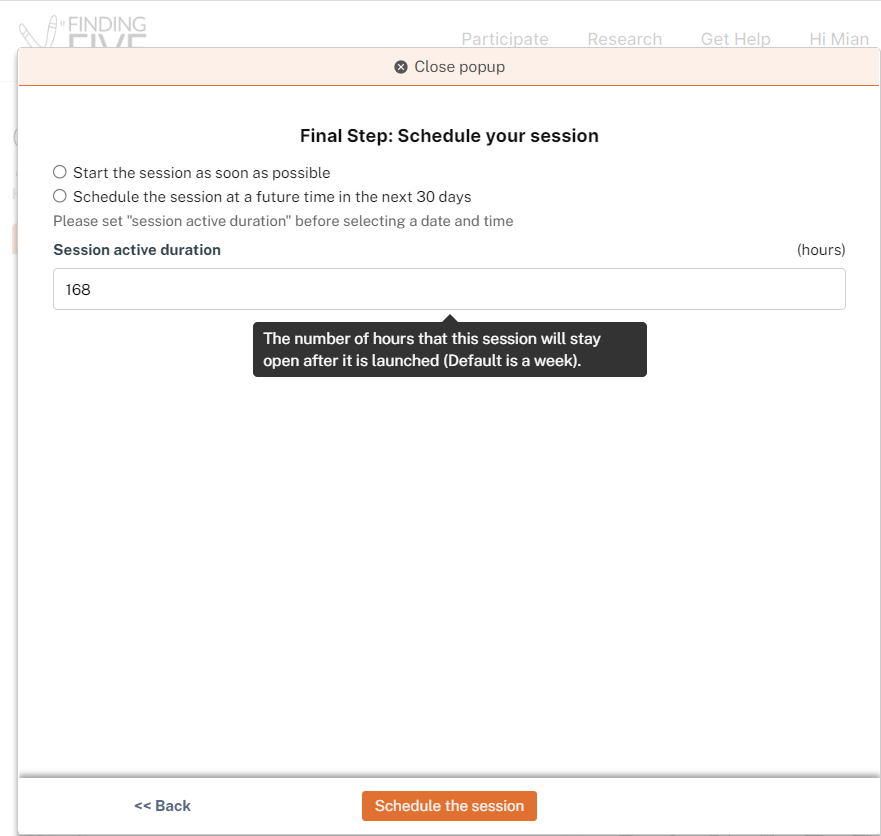
The final step is about scheduling your session. For FindingFive sessions, you may make the session available as soon as possible or you may schedule it for a future time (within the next 30 days). You can also specify how long the session is available (provided the session does not fill prior to that point).
Managing active/scheduled & finished sessions
To check on the ongoing or scheduled sessions (for the current study), you can choose the “Active & Finished” option when clicking on the “Sessions” button in the upper-right corner.
A pop-up window will show all existing sessions associated with the current study.
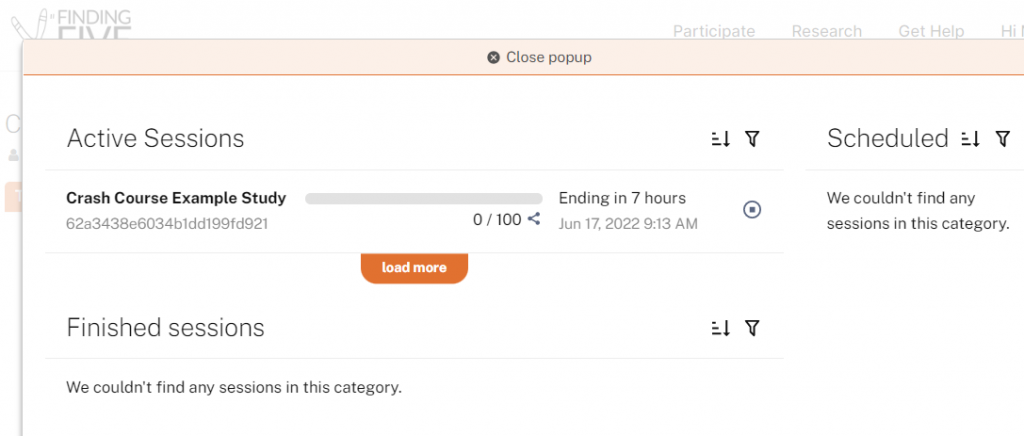
You can see basic information about the session, as well as its progress, within the pop-up window. For a more detailed rundown of the session or to manage participants, click on the progress bar to expand the view (the background of the selected session will be highlighted once you hover the mouse over the progress bar).

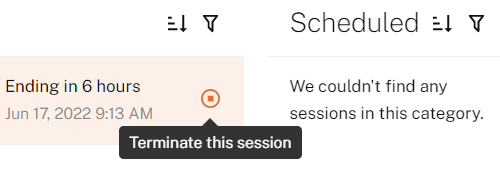
Ending a session
To end a session early, click on the “Terminate this session” button to the right of the session timer. Terminating the session will prevent new participants from joining the study, but will not cause problems for participants who are currently taking the study. After terminating a session, you will be unable to reopen it, but you can always start a new session.
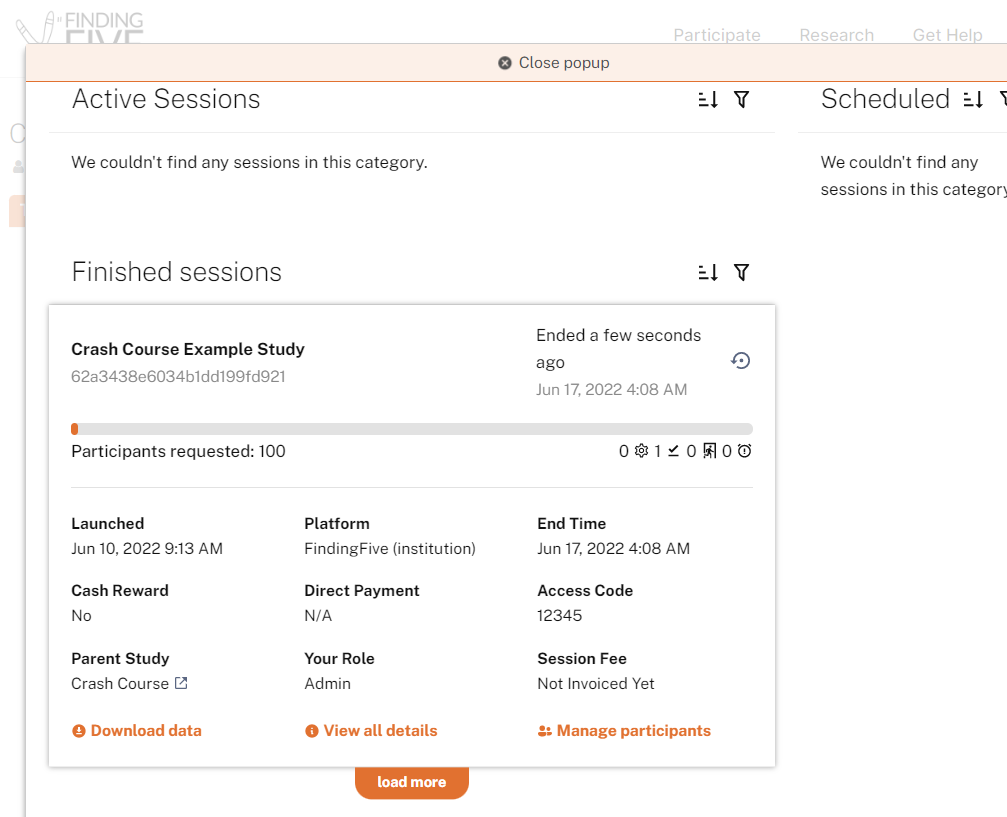
Looking at the data
After a session has been completed, it will appear under the “Finished” tab of the “Sessions” page. From here, you can download the data (a zipped folder of .csv files) by selecting the desired session(s) and clicking the Download data button located in the lower-left corner. Note that you can only download the data from a session once the session has ended (either by ending the session early or waiting until the requested number of participants have completed your study). More information on accessing and interpreting your data files can be found in our data file tutorial.
Congratulations on completing your first study session! We encourage you to read the Study Grammar Documentation to learn about all of the advanced features we didn’t cover here, and review our Researcher Tutorials for additional FindingFive tips and tricks.
Please do not hesitate to contact us at researcher.help@findingfive.com for any questions you may encounter while using FindingFive. We look forward to hearing from you!