
FindingFive works seamlessly with Amazon’s Mechanical Turk (MTurk). FindingFive offers an easier way to program your study and simultaneously take advantage of the participant pool and easy payment procedure that MTurk offers. We’ve done all the nitty-gritty backend work for you, so you can launch your FindingFive experiment on MTurk by following these easy steps:
- Make sure you have accounts with Amazon Web Services (AWS) and Mturk (sandbox & production)
- Create a new Identity and Account Management (IAM) user
- Enter your IAM user access key and secret on FindingFive
- Launch your FindingFive study through MTurk
Also be sure to check out our post detailing some best practices when running a study on Mechanical Turk!
1. Make sure you have accounts with Amazon Web Services and Mturk (sandbox & production)
Go to the homepage of Amazon Web Services, and click on “Sign In” in the upper-right corner. On the next page, it should ask you to create or sign up for an AWS account.
We recommend that you sign up for an account using your university email address. If you are signing up for an account on behalf of your lab, you might want to use the lab email address.
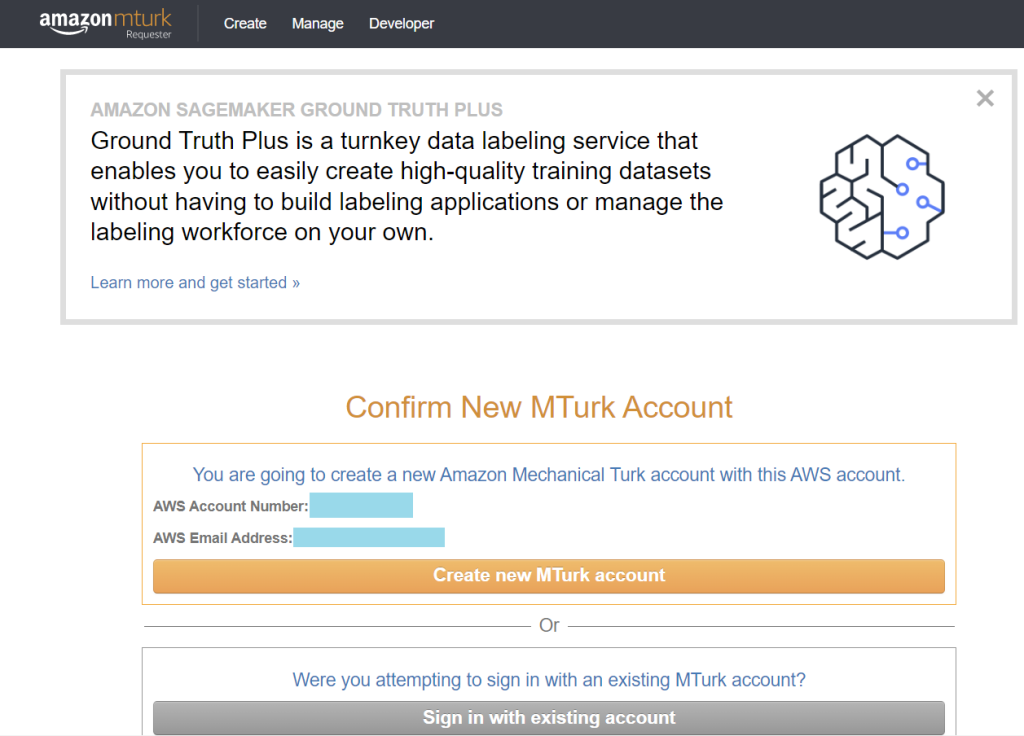
In order to use the MTurk (developer sandbox) service provided by AWS, you will also need a MTurk Requester (developer sandbox) account. Please first visit the MTurk Requester (developer sandbox) sign in page and sign in using your AWS account to verify that you already have an account with MTurk. If you do not have a MTurk Requester account, after you have signed in using your AWS account, the Website will prompt you to create a new MTurk account using your AWS account information.

You can click on the “Register a new Mturk Account with your AWS account” link at the bottom of the Web page, and complete the account sign up process.
We always recommend that researchers should test a study using the sandbox MTurk first before launching a production HIT. Doing so could help identify any unforeseen issues and prevent unexpected financial losses (if the study is launched in production mode).
When it is time to launch a study in production mode and collect real-world data, please visit the MTurk Requester (production) sign in page and sign in using your AWS account. If a new MTurk Requester (production) account is needed, the Web page will guide you through the sign up process similar to the above steps for an MTurk sandbox account.
2. Create a new Identity and Account Management (IAM) user
Once you have an AWS root account, you’ll need to add a new IAM user to your account. This will generate access keys that allow FindingFive to do all the behind-the-scenes work for you on MTurk (sandbox & production).
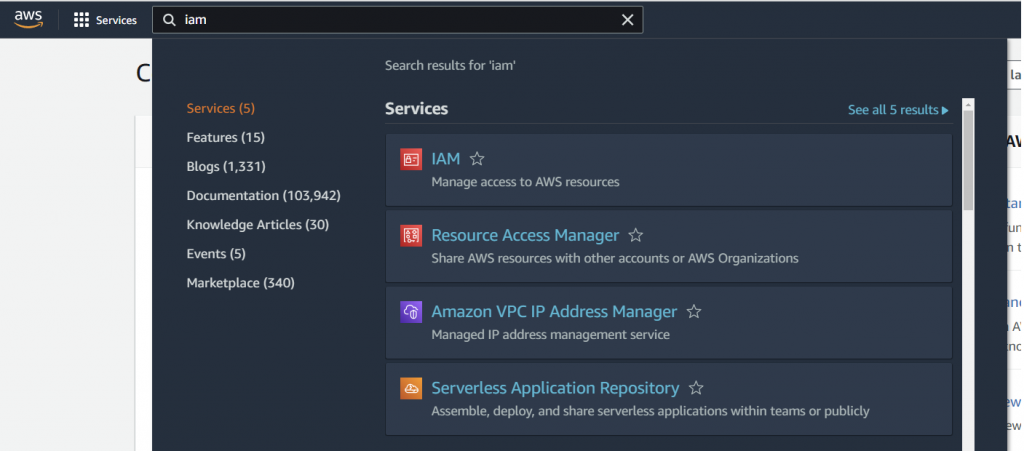
When you log into your AWS account, you should see a search bar at the top of the screen. Type “IAM” into the search bar and hit the Enter key (or click on “IAM ✩ Manage access to AWS resources” when it appears in the drop-down list).
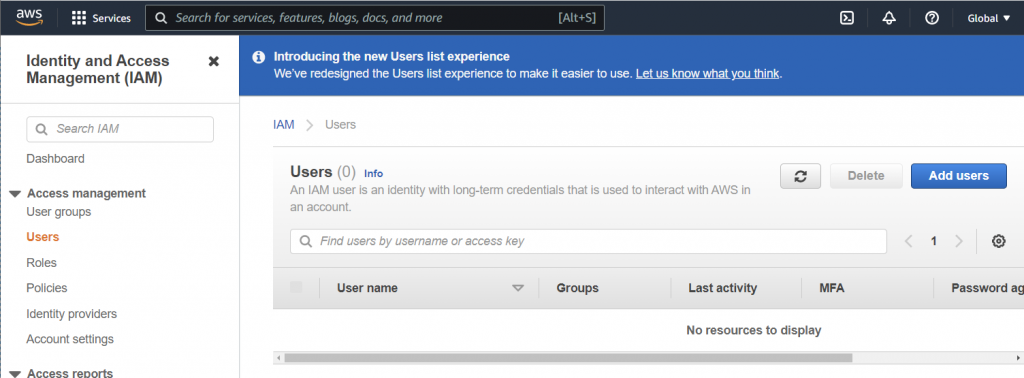
Add a new IAM user
Once you are inside Identity and Access Management (IAM), click on “Users” under the “Access management” list located in the left-hand menu. Then click the “Add users” button at the top of the screen.
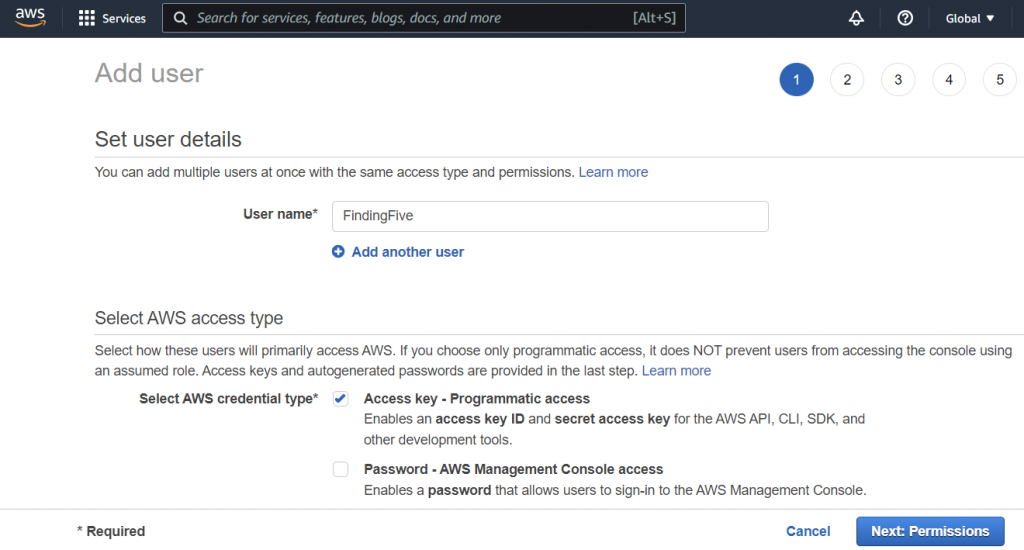
Set up the user’s access
- Name the user (e.g., “FindingFive”, since we are the authorized user on your AWS account)
- Select the box labeled “Programmatic access” under “Select AWS credential type”
- Click the “Next: Permissions” button
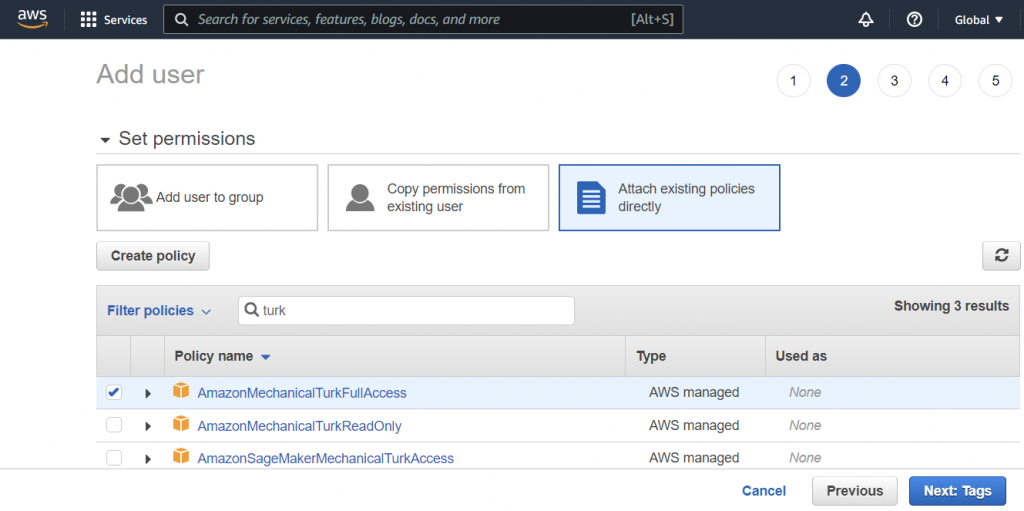
Give permission for this user to access (only) Amazon Mechanical Turk
- Click “Attach existing policies directly”
- Type “Turk” into the policy type search bar
- Check the box for “AmazonMechanicalTurkFullAccess”
- Click the “Next: Tags” button
- NOTE: Tags are optional. Continue clicking on the “Next” button until you get to the “Review” page.
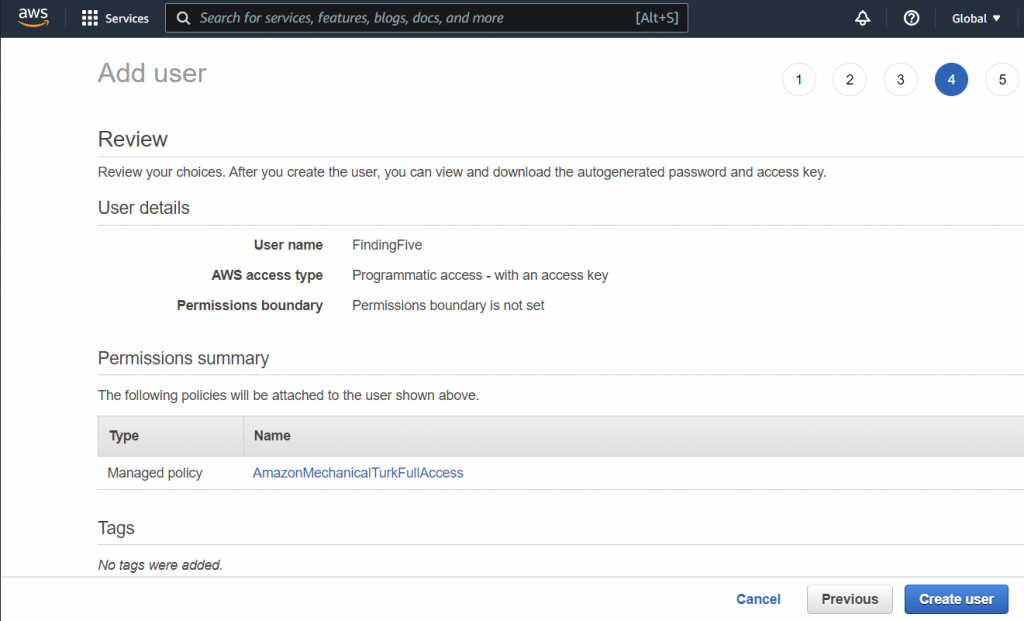
Review your new user
- Make sure your “AWS access type” says “Programmatic access – with an access key”
- Ensure that “AmazonMechanicalTurkFullAccess” appears under the “Permissions summary”
- Click “Create user”
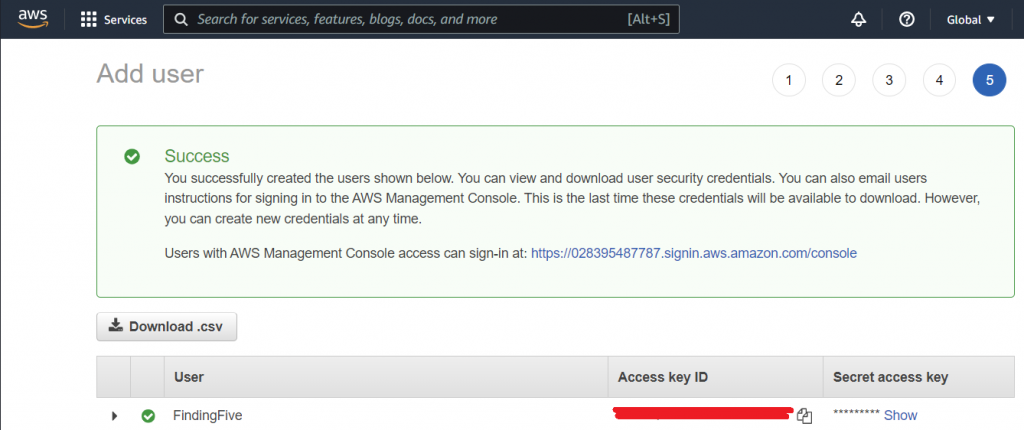
Now you should see the newly created IAM user’s “Access key ID” and “Secret access key”. Download the csv file, keep this window open, or copy and paste both the access key ID and secret access key into a local document on your computer.
3. Enter your IAM user keys on FindingFive
Now that you have a MTurk-only IAM user for your AWS account, you’ll need to tell FindingFive how to access that IAM user account.
First, log into FindingFive here. Then go to your profile by clicking on your name at top right of your screen and selecting “Account Settings“.
Click “MTurk Integration” on the top the screen and enter your IAM user’s access and secret keys.
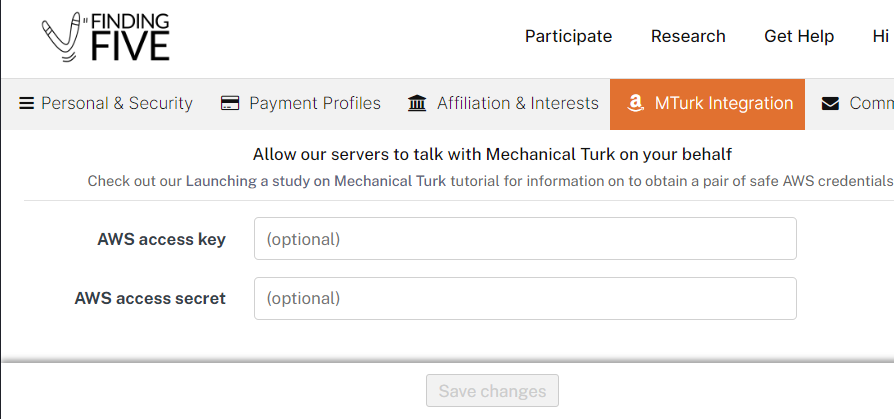
Click “Save changes” at the bottom, and you’re all set up to use FindingFive integrated with MTurk!
4. Launch your FindingFive study through MTurk
Once you’ve programmed your experiment and are ready to create a session to be launched on MTurk, head to your study’s main page and click on the “New Session” button under the “Sessions” tab, and you’ll be walked through our MTurk session wizard (see our tutorial on how to “start a new session“).
You might also want to check out our blog post on best practices when launching a study on MTurk.
Step 1: Selecting your platform
You see two icons pop up: the FindingFive logo and the Amazon logo. To launch your study on Mechanical Turk, click the Amazon logo. This will bring up a pull-down menu with three options: Sandbox, Production, and Link Only:
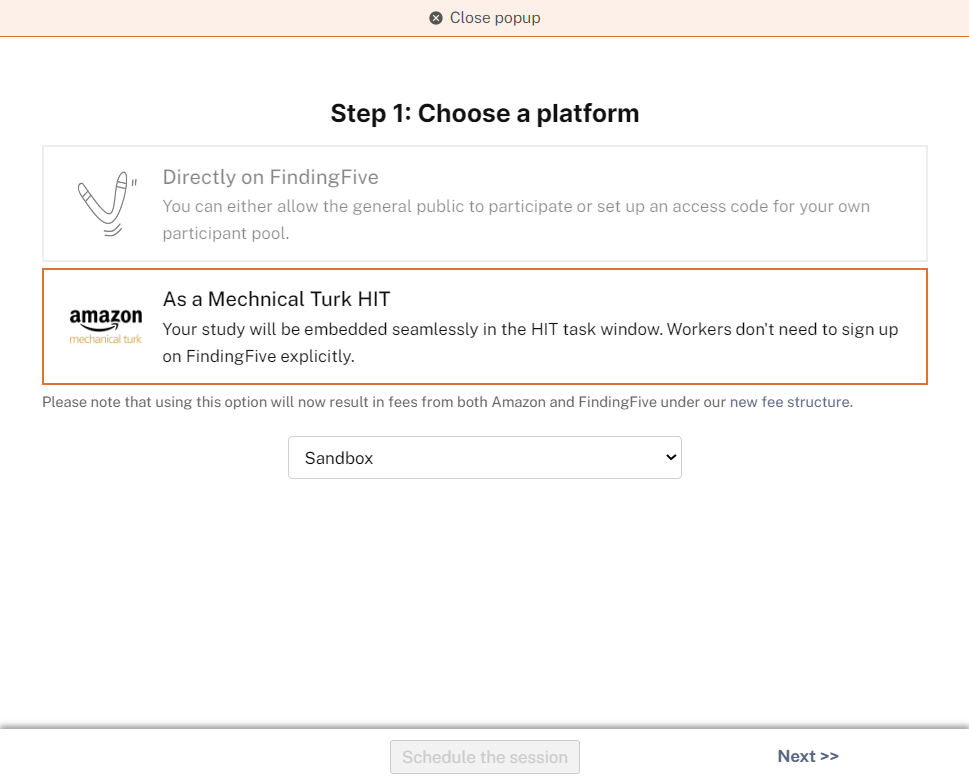
- If you are running a study on MTurk for the first time, we strongly recommend that you select MTurk Sandbox. The Sandbox is a simulated environment where you can test all aspects of your study and experience it in the same way your participants will. Make sure you have an account with MTurk developer sandbox services which is different than a production MTurk account.
- If you are 100% ready for collecting data from Turkers, you should select the Production option. Production allows you to start collecting data from actual participants over the Internet through Amazon’s Mechanical Turk marketplace.
Step 2: Defining basic study settings
In Step 2 of the MTurk session wizard, you’ll be able to define some basic settings for your study. Keep in mind that the first two fields (Participant-friendly name, Task description) are the pieces of study information that your MTurk participants will see when deciding on the tasks they want to complete, so use best practices when deciding on these settings. Participants will not be able to see the other settings; they are solely for researcher use.
The HIT Frame height field allows you to determine the size of your study window when it is viewed by a participant on MTurk. (Note that HIT stands for Human Intelligence Task, which is a fancy way of saying “the task a worker [a.k.a. participant] will be asked to complete.”) We recommend starting with a height of 600, but you might want to play with this setting in the Sandbox if you have a lot of size-dependent images or videos in your study.
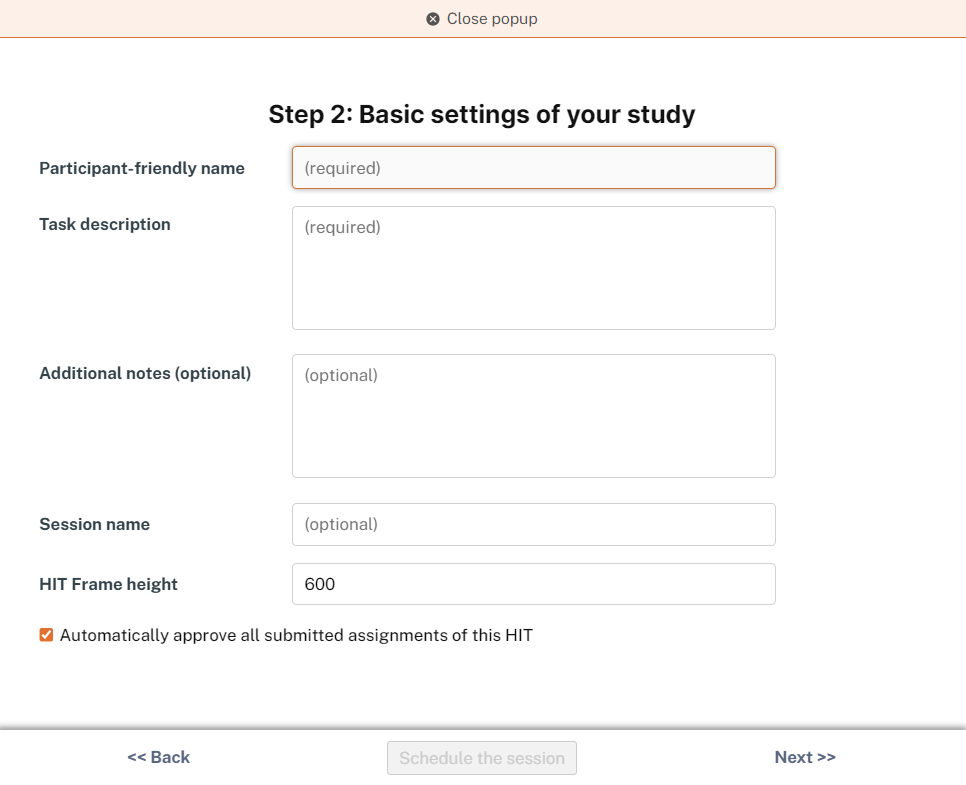
An important detail here is that all MTurk workers will be automatically approved once they complete the session (HIT). Researchers will not get a chance to review their work and reject it. (Learn more about managing MTurk workers here.) As a policy, FindingFive enforces payments to participants regardless of the quality of their work. Most IRBs, if there are exceptions at all, would not allow participants to be not compensated as long as they complete the task.
Step 3: Initial participant settings
Next, you’ll define how many participants you want to enroll in your study, the estimated duration of your study, and some basic restrictions on your participant pool.
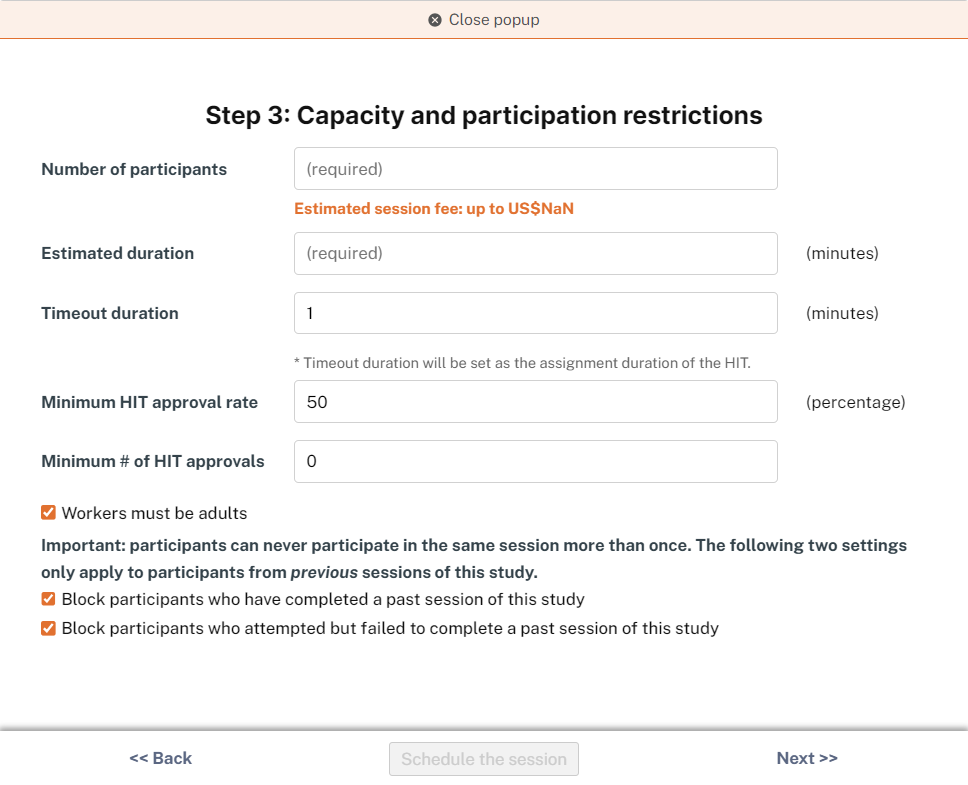
- Timeout duration – This defines how long your study will remain active before a participant “times out” (the default setting is equal to the estimated duration of your study)
- Minimum HIT approval rate – HIT approval rate is the proportion of completed HITs that are approved by Requesters. The minimum approval rate workers must have in order to be eligible to participate in your study.
- Minimum # of HIT approvals – Minimum number of HITs a worker must have completed in order to be eligible to participate in your study.
- One this page you can place other simple restrictions on participant eligibility to enroll in your study (like requiring that workers are adults or blocking a participant who has failed to complete your study in the past).
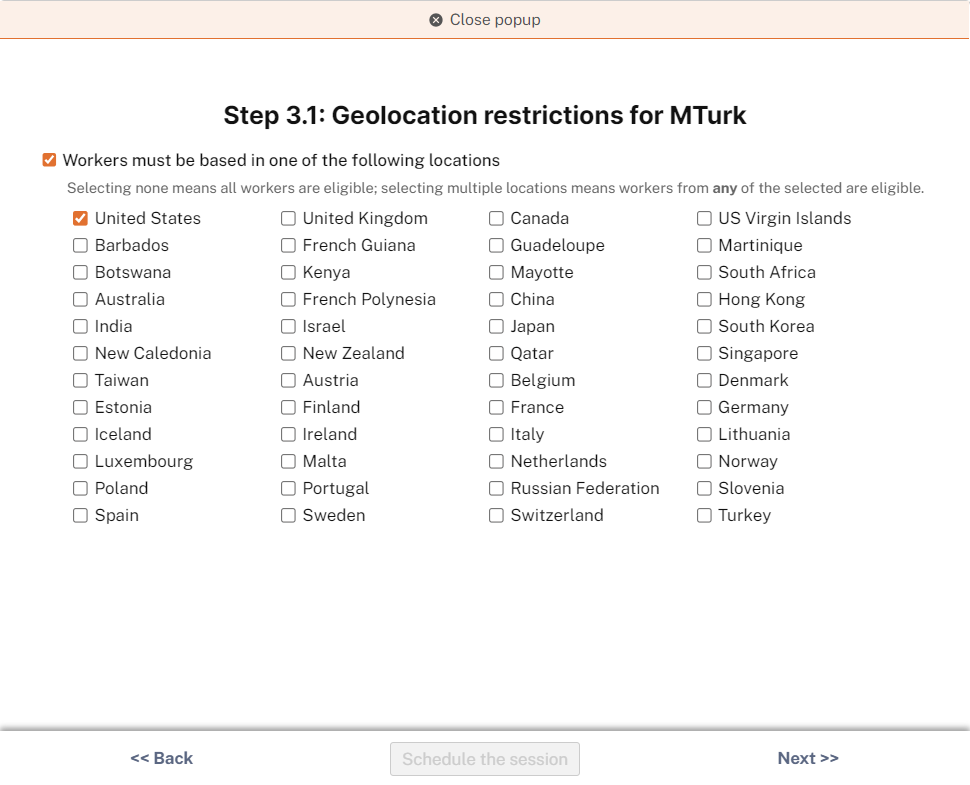
You can also restrict the geographical region of your participants. This can be set on the next screen (Step 3.1):
Steps 4 and 4.1 are the same as when launching sessions directly on FindingFive, so they are not described in this tutorial.
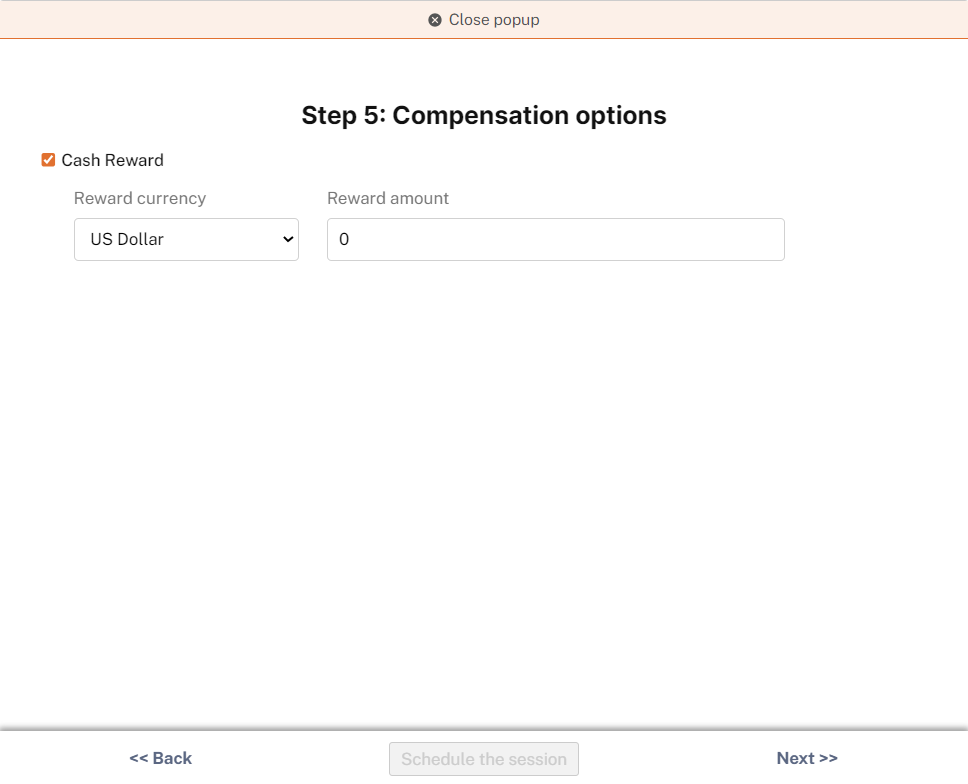
Step 5: Setting up compensation
Define how much you’ll be paying participants on the next screen. (Worried about what might happen to participants who experience issues with your study? Check out our tutorial on compensation HITs!).
Steps 6 and 7 are the same as when launching sessions directly on FindingFive, so they are not described in this tutorial.
Step 8 (Final Step): Schedule your session!
All FindingFive researchers have the option to schedule their MTurk session launch for some point in the next 30 days. Launch date availability is determined by how many other researchers are trying to launch at the same time, and the current load on our servers. In general, sessions are scheduled on a first-come, first-serve basis as determined by server capacity. (If you have a Standard or Pro subscription, you also have the option to launch your session immediately on Mechanical Turk.) Identify how long (in hours) you want your study to remain active on MTurk once it launches and type this number into the text box at the bottom of the window. Then select the date on the calendar that corresponds to your desired schedule launch date.
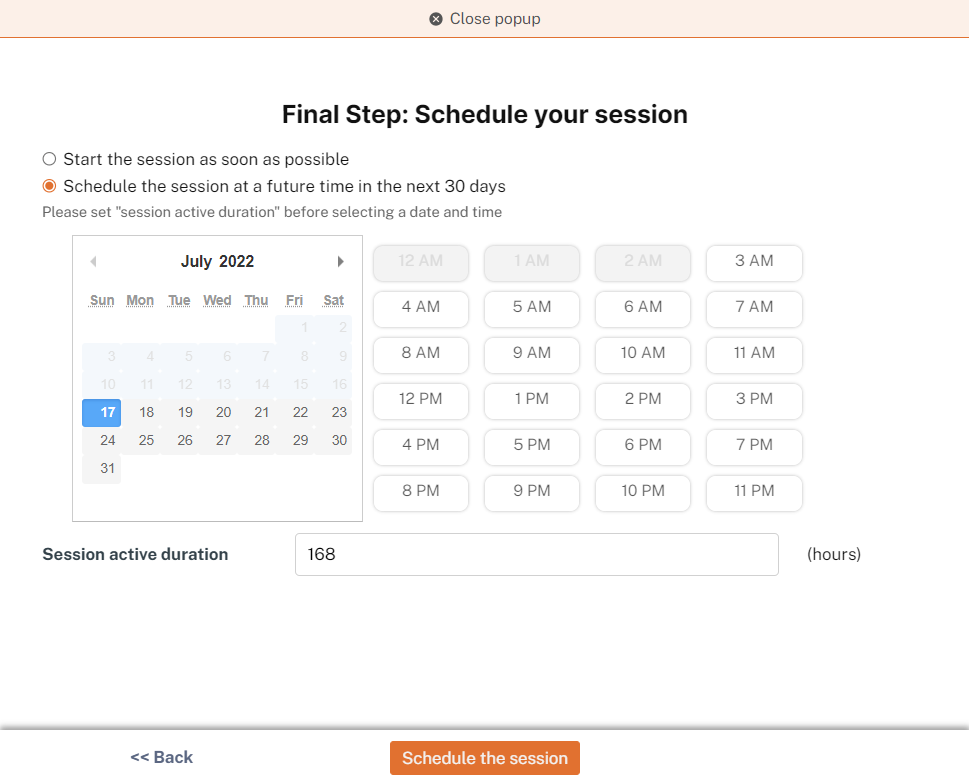
Click “Schedule the session,” and voila! Your study session is scheduled to be launched on Amazon’s Mechanical Turk.
Feedback
We would love to hear about your feedback on FindingFive’s integration with Mechanical Turk! Email us at researcher.help@findingfive.com.
Comments are closed.